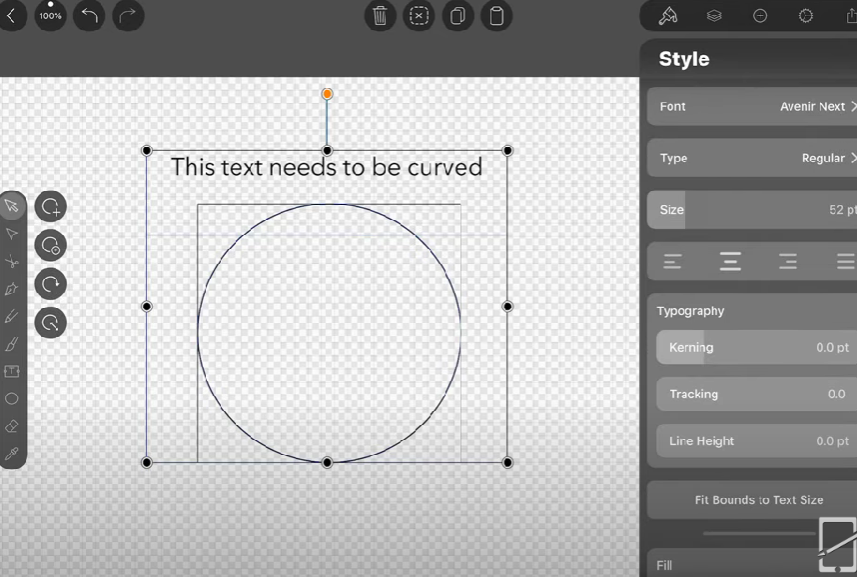
Discover how to curve text in Procreate. Procreate is like a magic wand for artists on iPads. It helps you create beautiful digital art. One cool thing you can do with it is bend text. This means making text curve around in your artwork. whether you’re designing a logo , creating a custom illustration or working on a particular project curve test can be the dynamic and attention grabbing elements to your project. In this guide will discuss a very easy ways how to curve text in Procreate. after following these guide you will be able to curve text in procreate add best flavor to your project. lets learn how to curve text in procreate.

What is Procreate?
Procreate is a super cool app on iPads for drawing and painting. It’s widely used by artists of all levels to create stunning artwork digitally .It’s famous for being easy to use and making amazing art.
Table of Contents
Why curving Text is Fun
Bending text adds a special touch to your art. It makes things look more interesting and lively. Whether you’re making a poster or drawing, bending text can make your work stand out and adds a touch of magic that catches people’s eyes and makes them say, “Wow
Step-by-Step Guide: how to Curve Text in procreate
Curving test in procreate can be done using various methods, as the app doesn’t have a build-in-text warping feature. here are some common ways to curve text.
1.Manual Path Method
- Create text : Open procreate and select text tool type your desire text and adjust the font, size and style
- Rasterize Text: Tap on the text layer, then select the “Rasterize” to convert the text in a pixel layer making it editable
- Transform Tools: Select the transform tool ( arrow icon)choose the “wrap” transform tool from the toolbar option at the bottom.
- Use the handle and grip points to manually curve and distort the text. you can drag individual points or section to create the desired curvature.
- Tips: for smoother curves, make smaller adjustments and frequently zoom in the fine-tune,
2.Using the Selection Tool
- Create Text: Type your text and rasterize it.
- Select Letters: Use the selection tools ( lasso or rectangle or S icon) to select individual letters or groups of letters.
- Move and Rotate: Once a letter or group o letters is selected, use the transform tool to move ,rotate, and position them along with your desired curve.
- Repeat this process for each letter to achieve the curved effect.
- Tips : This method is more labor-intensive but allows for precise control over each letters placement.
3.Symmetry Tool for Circular Text
- Create a Circular Path: Draw a circle using the Quickshape feature.
- Symmetry Tool: Go to action( wrench icon) “canvas” turn on “Drawing Guide” edit Drawing guide, select the ” symmetry” option and choose “Radial” or “Quadrant” symmetry, draw your text along with the guide, and it will mirror in a circular pattern.
- Erase Excess: use the eraser tool to clean up any parts of the letter that extend beyond the desired path.
- Tips: this method is great for creating logos or decorative circular text design.
4.Using External Apps
- Create Text in Another App: Using an apps like adobe illustrator, affinity designer, or free online text warping to create curved text.
- Alternatively : Use the free graphic design tool like Canva which also offer text warping option.
- Export and Import: Export the curve d text as a PNG with a transparent background and import into procreate by selecting ” Insert a photo”
- Tips: Ensure the text has a high quality resolution to maintain quality when resizing in procreate, you can further edit or add effects to the imported text in procreate.
5. Brush Strokes for Custom Text
- Create a Path: Draw a curved path using the brush tool or Quickshape feature to create a smooth curve.
- Brush Tool: Use a fine brush to manually draw each letter along the curved pat, follow the curvature closely to maintain consistency.
- Tips: This method is ideal for creating custom, hand-drawn text effects, take your time to ensure letter align well with the path.
Conclusion
By using these methods a, you’ll be able how to curve text in procreate ,adding unique and custom text effects to your artwork. each method has its advantages, so choose the one that best fits your project needs and workflow. you may also like how to curve text in Canva.

1 thought on “How to Curve Text in Procreate: Simple 5 Steps”